.png)
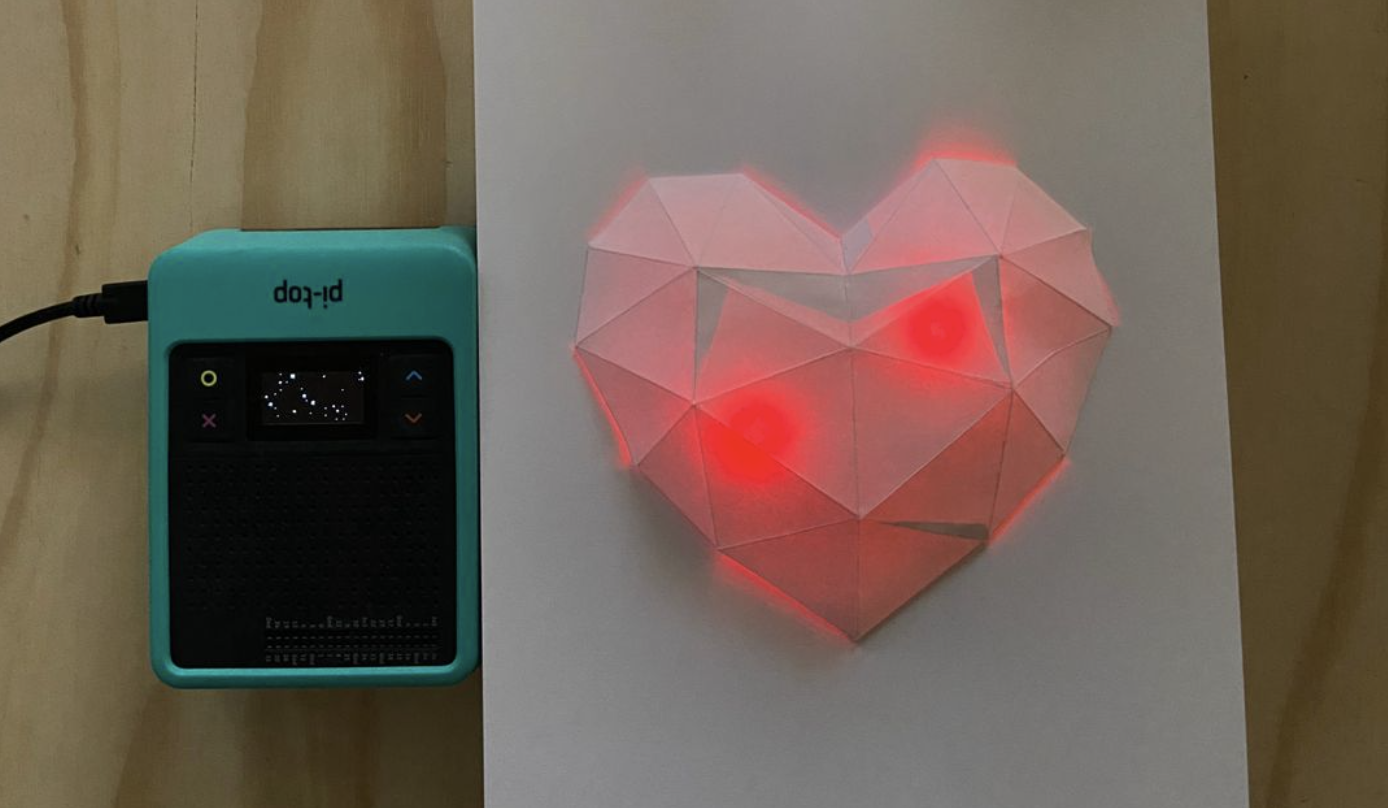
Valentine’s Day is right around the corner and that got us here at pi-top thinking... What could be more romantic than a Raspberry Pi creative STEAM project? Whether your students make this project into an awesome electronic ornament or as a gift for a special someone, our Electric Heart is the perfect activity for home or school this Valentine’s Day.
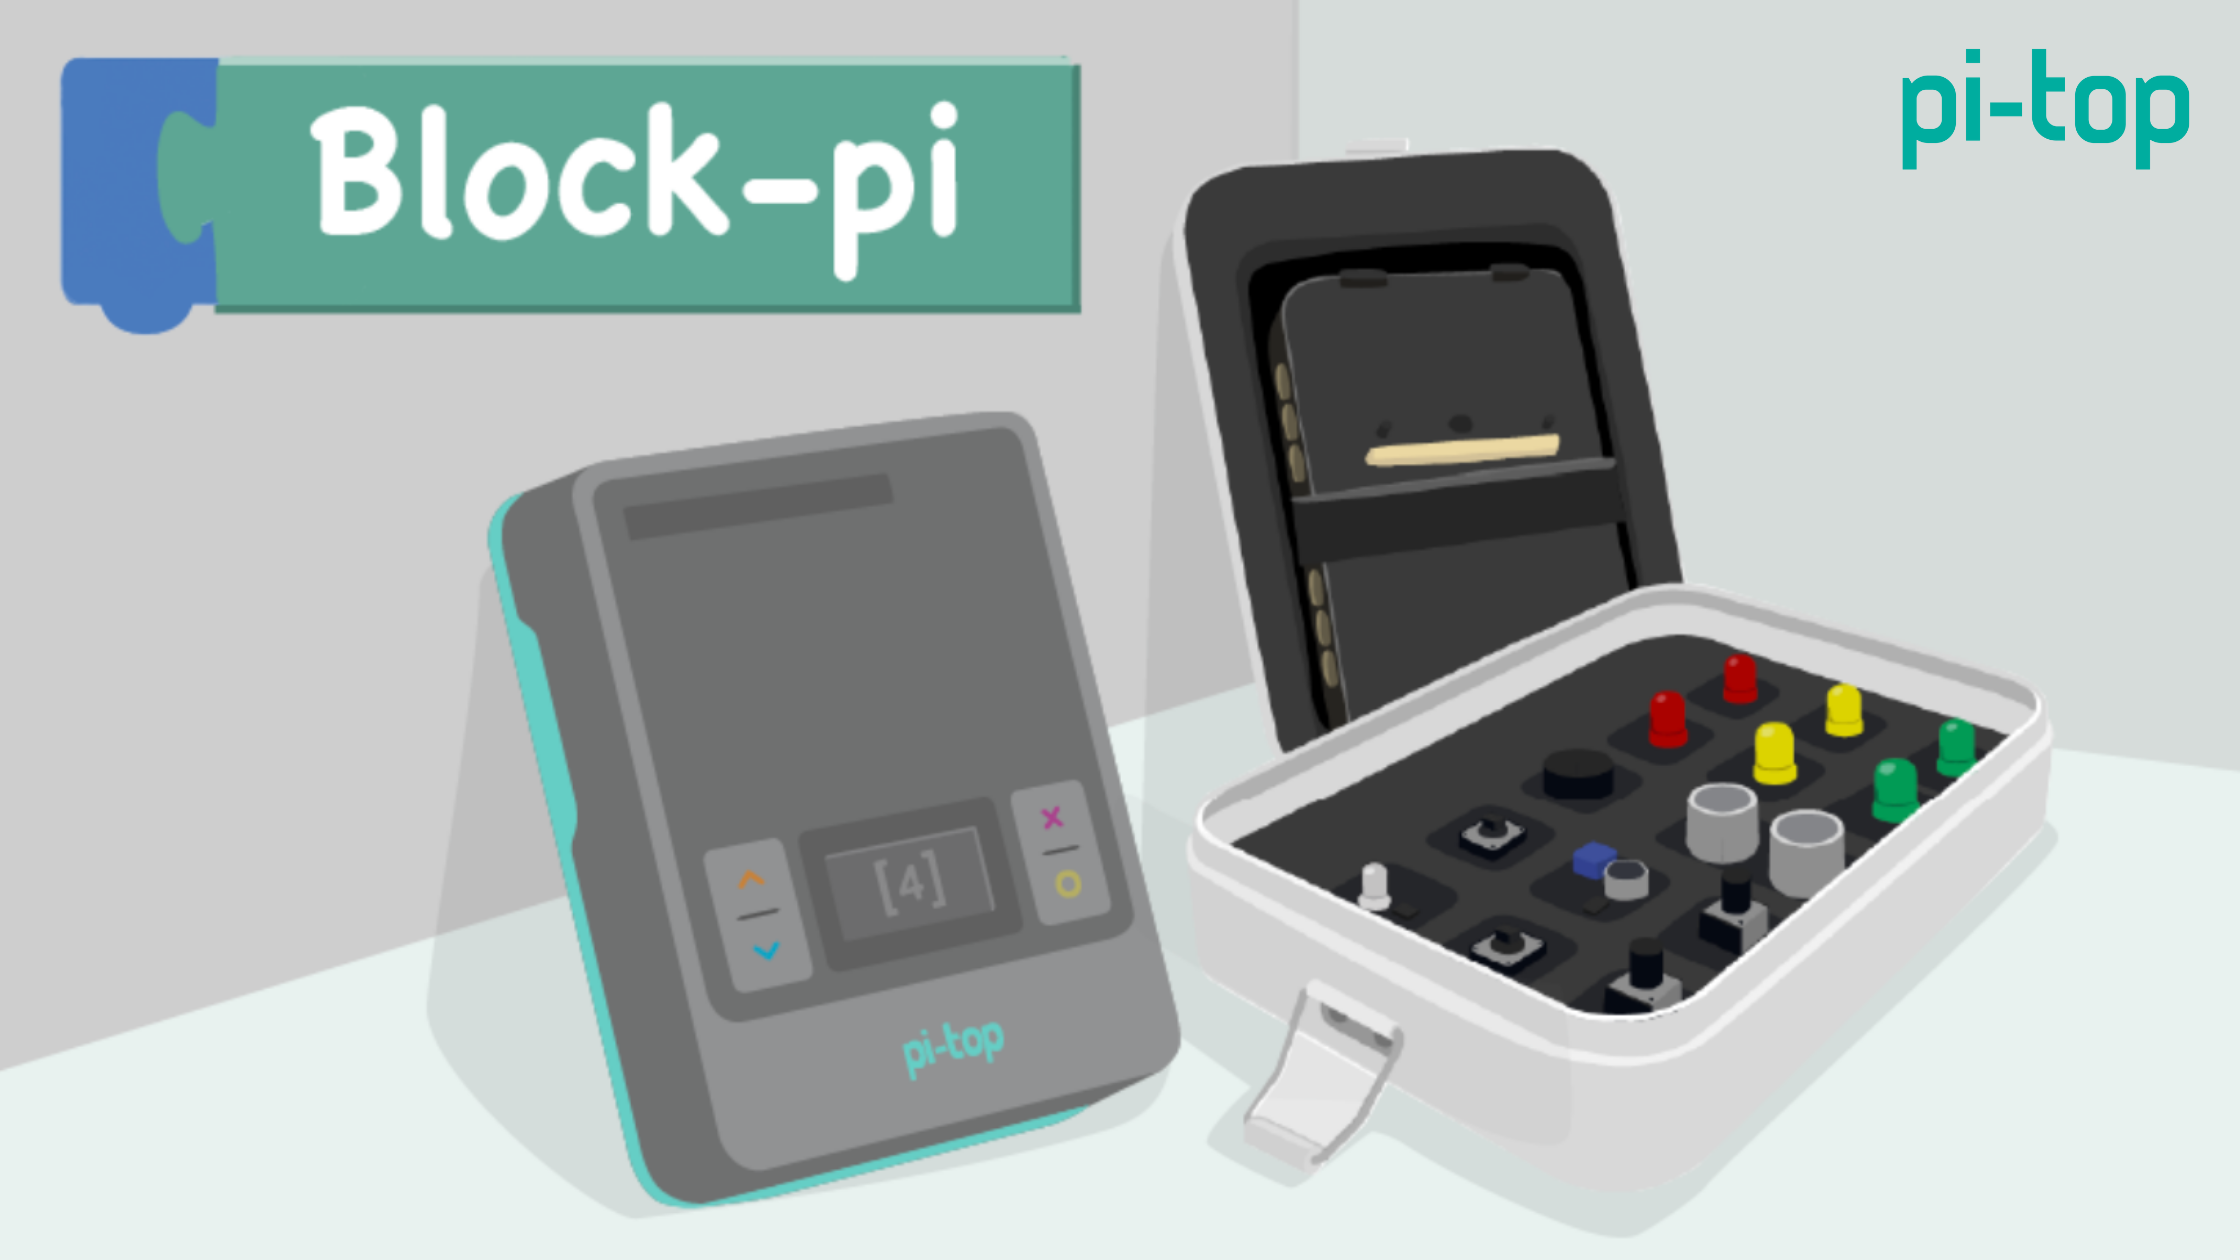
Plus, we’ve just launched our brand new block coding tool on our learning platform Further! We call it… Block-pi! Block-pi is a way to write computer code without having to type out each command line-by-line.
Instead of typing out instructions (as with text-based languages), block coding allows users to snap together puzzle pieces that each contain one component of the code instructions for super simply coding.
This project is part of our Block-pi coding course, available for free on Further! So, whether you’re a first time programmer or a seasoned STEAM maker, this Valentine’s project is made for everyone!
Find out more about Block-pi and why we've introduced block coding to Further in our latest article: The Benefits of Block Coding.
Light Up 3D Heart Project
Follow the full detailed project tutorial with videos, images and printouts on Further: Block-pi Electric Heart Project.
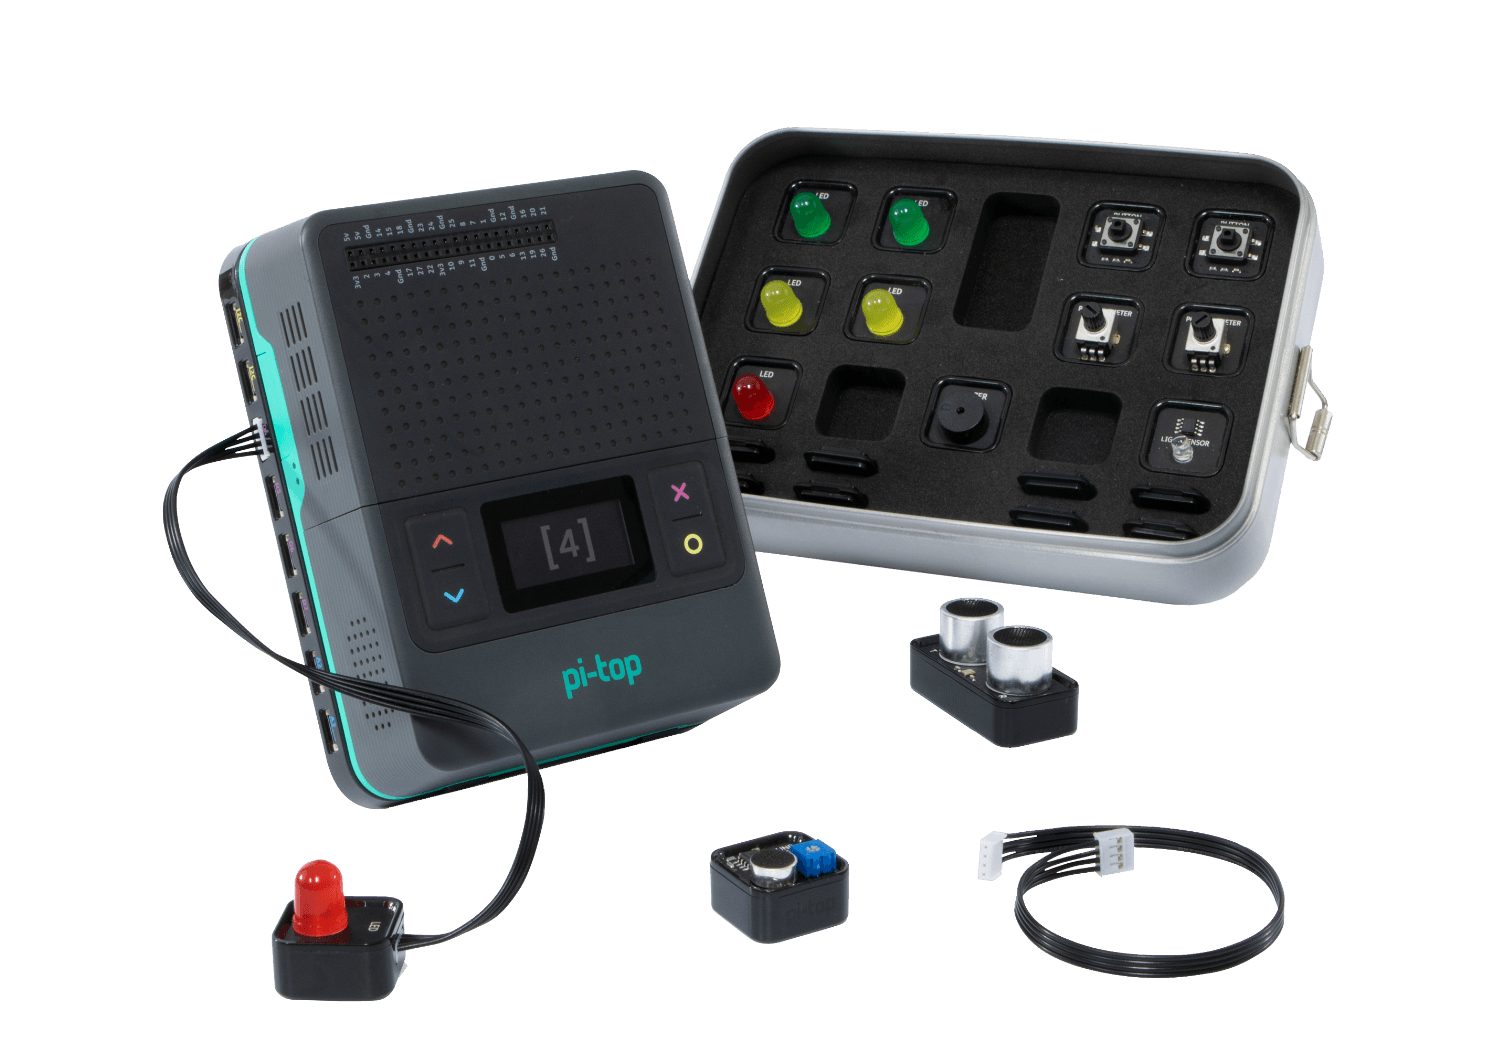
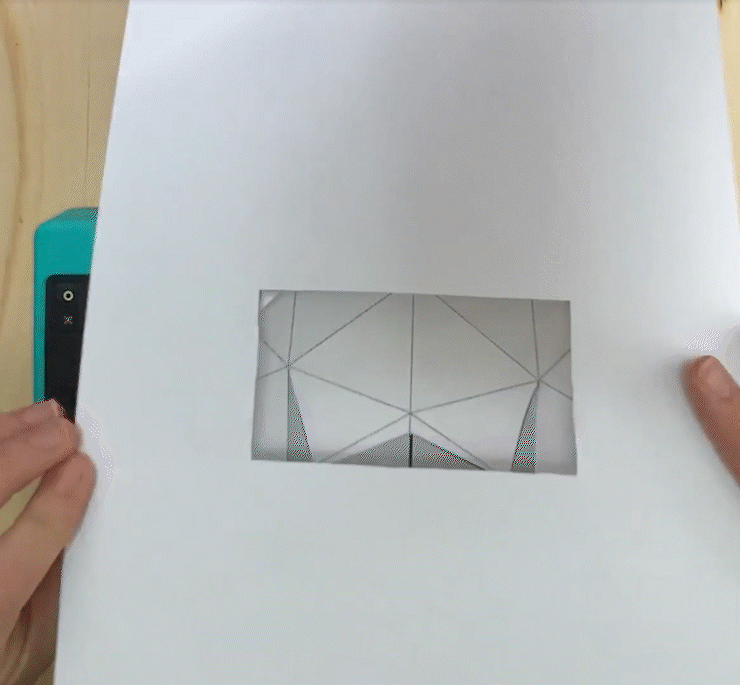
For this project, you’ll need a pi-top [4] Electronics Superset, some scissors, paper and glue. You’ll also need to have a printer handy to print off the template we’ve designed.
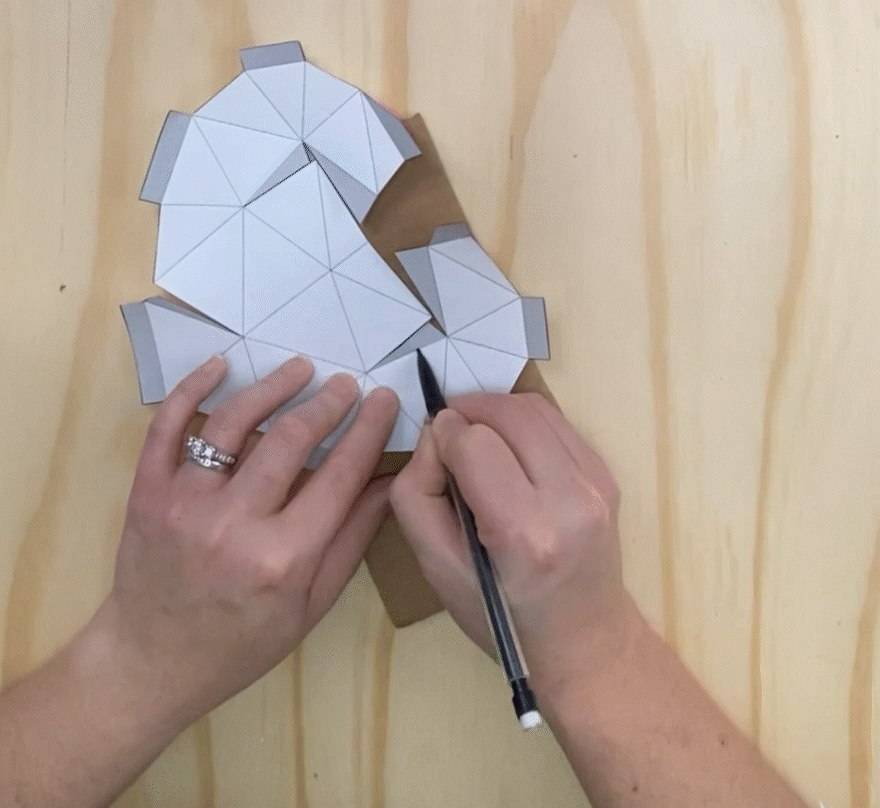
Cut out the template and trace over the dotted line with a blunt tool, like a pencil with no lead, to make folding the edges easier. Then, following the example in the video we’ve attached, fold and stick the paper together to create the 3D heart shape.
If this seems a little complicated, don’t worry! Detailed step-by-step instructions with videos and pictures are available on the Further project page.
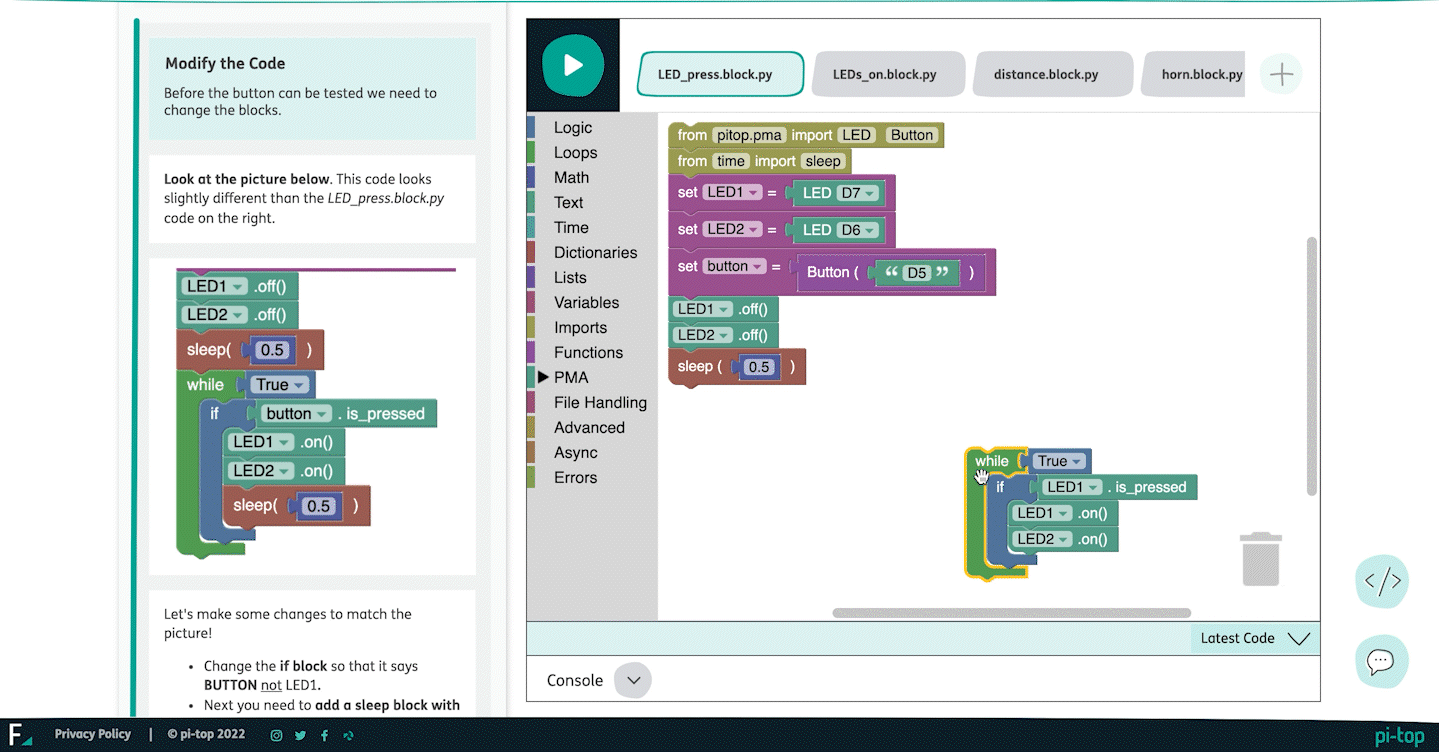
Once the papercraft is complete, you’re ready to move on to the electronics! First things first, connect your pi-top [4] to Further by following the instructions on the tutorial. This is so that you can run code directly from Further to your pi-top.
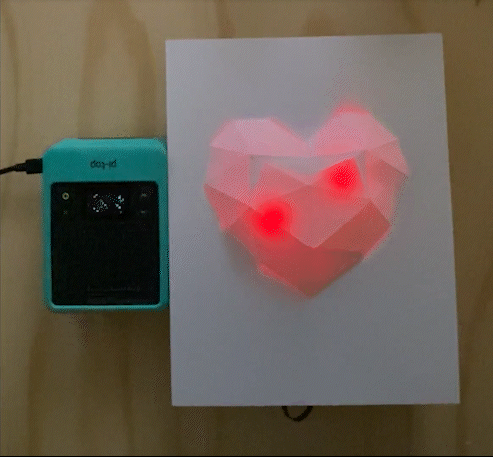
Attach the LEDs to your pi-top and sit them underneath your 3D heart so they can light it up. We’ve chosen the red lights but why not try out different colors and combinations?
Once you’re all set up, have fun tinkering with the Block-pi code to produce a sequence you like the best. Attach the ultrasonic sensor to make the lights twinkle when someone walks by, have the lights flash in a cool sequence or use the pi-top [4]’s built-in speakers to play sound. Get creative and make this project your own!
We hope you love this Valentine’s Day project as much as we have enjoyed creating it for you. Don’t forget to share pictures of your 3D Raspberry Pi-powered hearts on socials and tag us @GetPiTop so we can share your masterpieces!
If you have any questions, comment them down below and we’ll get back to you as soon as we can.
Happy Valentine’s Day 💕
We are so pleased to announce that our incredible content creators Marielle and Eli, who make the amazing projects and courses you see on Further, will be hosting bi-weekly Computer Science webinars!
Our first session is titled 'Grant Writing for Computer Science and STEAM'.
February 17, 2022, at 04:00 PM Central Time.
Our webinars will be via Zoom. Simply register here!